



Table of Contents
- What Lean Construction Techniques Are and Why They Matter
- Understanding the Eight Wastes of Lean Construction
- Step 1: Map Your Value Stream to Identify Non-Value-Added Work
- Step 2: Implement Pull Planning and Just-in-Time Delivery
- Step 3: Adopt the Last Planner System for Workflow Control
- Step 4: Standardize Work and Use Visual Management
- Common Implementation Mistakes and How to Avoid Them
- Measuring Waste Reduction: Key Performance Indicators
- Frequently Asked Questions
Last Updated: October 16, 2026
What Lean Construction Techniques Are and Why They Matter
Lean construction techniques to reduce waste represent a fundamental shift in how projects get built. Instead of accepting delays, material loss, and rework as normal costs of doing business, lean construction treats waste elimination as a core operational strategy. Optimizing site logistics requires proactive planning, particularly when avoiding scaffolding delays becomes essential to maintaining a continuous and efficient workflow.
The difference between a lean operation and a traditional one isn’t subtle. Lean construction applies manufacturing principles to building projects, focusing on maximizing customer value while cutting everything that doesn’t directly serve that goal (5 Lean Principles Every Engineer Should Know).
Here’s what makes it different from standard construction management. Traditional approaches plan around capacity, they schedule work based on crew availability and push tasks forward regardless of whether the next phase is ready. Lean construction pulls work through the system only when it’s needed.
The payoff shows up in three places: faster project delivery, lower costs, and fewer defects. Teams that implement lean construction techniques reduce rework, cut material waste, and improve schedule reliability. For a remodeling firm or HVAC contractor managing multiple projects, those improvements compound quickly.
Understanding the Eight Wastes of Lean Construction
The eight wastes framework comes from lean manufacturing. Construction adapted it because the principle holds: identify what’s wasteful, eliminate it, repeat.
These eight categories describe almost every inefficiency on a jobsite:
-
Overproduction, Ordering materials before they’re needed or in quantities larger than the project requires. A crew orders 200 feet of copper pipe when the phase only needs 80 feet. The extra sits on-site, takes up space, and may get damaged or stolen.
-
Waiting, Idle time when crews can’t work because materials haven’t arrived, the previous trade hasn’t finished, or decisions are stuck in the office. Electricians show up to rough-in but the framing crew is still working. They wait. That’s wasted labor cost.
-
Transportation, Unnecessary movement of materials or people. Moving supplies multiple times across a jobsite, or crews traveling between scattered material storage areas, adds time that doesn’t create value.
-
Overprocessing, Doing more work than the customer actually needs or doing work in a more complex way than necessary. Using premium finishes on hidden structural elements, or requiring multiple approval layers for routine decisions.
-
Excess Inventory, Stockpiling materials that tie up cash and create storage headaches. A plumbing contractor keeps three months of fittings on hand when lean delivery could supply them weekly.
-
Unnecessary Motion, Inefficient work layouts that force crews to bend, reach, or walk unnecessarily. Tools scattered across a jobsite instead of organized at the work station. Workers climbing up and down scaffolding to fetch items that should be staged nearby.
-
Defects, Rework caused by mistakes, poor quality, or miscommunication. A wall is framed wrong and has to be torn out and rebuilt. An electrical run doesn’t meet code and gets ripped out. Defects multiply cost and delay.
-
Underutilized Talent, Not using the knowledge and problem-solving ability of your crews. Supervisors make all decisions without input from the people actually doing the work. Ideas for efficiency improvements never surface because nobody asked.
How Waste Affects Project Cost, Schedule, and Quality
Every waste item hits your bottom line. Material waste is obvious, you pay for something and throw it away or it gets damaged. But labor waste costs more over time.
When crews wait because materials aren’t there, you’re still paying wages. When a crew has to rework something, you’re paying twice. When a jobsite is disorganized and workers spend 20 minutes finding tools, that’s lost productivity across the whole crew. These small leaks add up to thousands of dollars per project.
Schedule impact is just as real. Waiting times delay the next trade. Rework pushes the finish date back. Inefficient workflows mean fewer square feet completed per day. A project that should take 12 weeks stretches to 14 or 15.
Quality suffers when crews are rushed or confused. Defects happen faster than they get caught. Pressure to stay on schedule forces shortcuts that create more problems downstream.
Step 1: Map Your Value Stream to Identify Non-Value-Added Work
Value stream mapping is the first concrete step. It means documenting every task in a project phase and sorting each one into two buckets: work that customers value and work that doesn’t.
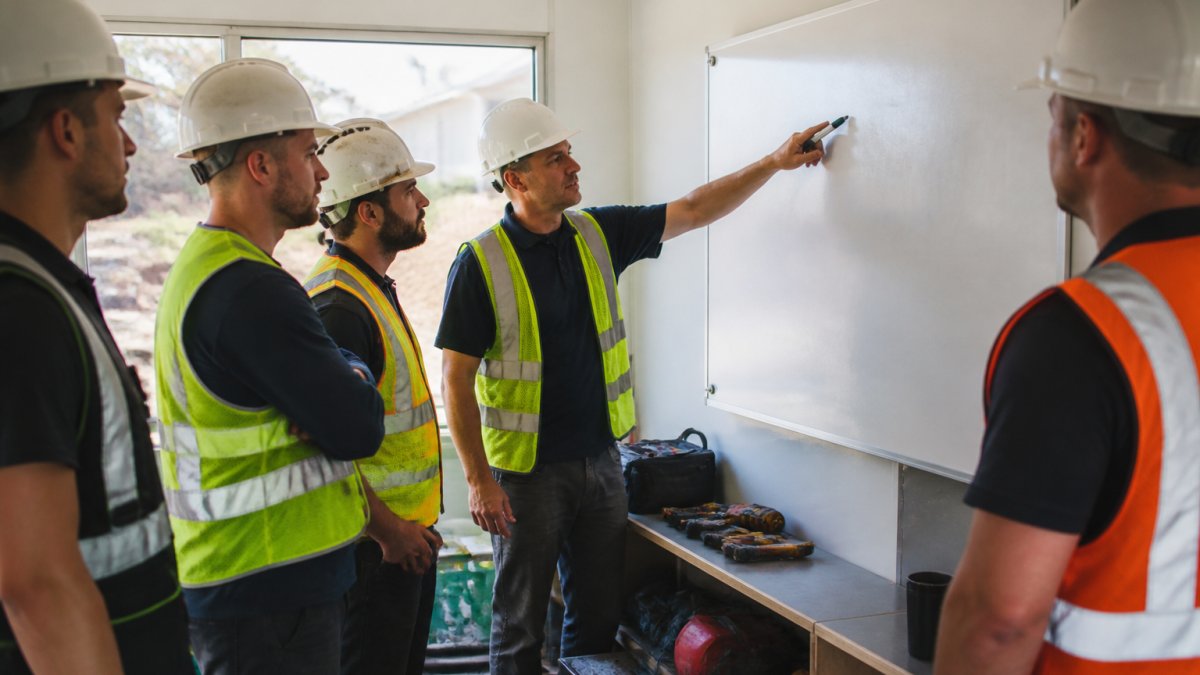
Start with a single phase, framing, electrical rough-in, plumbing, whatever your firm does most often. Walk the jobsite with the crew that does the work. Write down every task in sequence.
Then ask: does the customer pay for this? Does this task directly contribute to the finished building? If yes, it’s value-added. If no, flag it for elimination or redesign.
Examples from real projects:
- Value-added: Framing walls. Installing electrical wiring. Installing plumbing fixtures.
- Non-value-added: Walking to the supply trailer to find materials. Waiting for the inspector. Redoing work because the dimensions were wrong. Moving materials multiple times.
Most jobsites discover that 30-40% of time is spent on non-value-added work. That’s your opportunity.
Document the sequence, timing, and dependencies. How long does each task actually take? How long is the crew waiting between tasks? Where do bottlenecks form? This map becomes your baseline for improvement.
Step 2: Implement Pull Planning and Just-in-Time Delivery
Pull planning reverses the traditional push schedule. Instead of the office sending work downstream and hoping it gets done on time, the crew that needs materials pulls them in exactly when they’re ready.
Just-in-time delivery is the supply chain version. Materials arrive when the crew needs them, not weeks early.
This requires coordination. You can’t pull materials if your suppliers can’t deliver on short notice. Start by identifying your most reliable suppliers and negotiating flexible delivery schedules.
Pull planning also means crews talk to each other. The framing crew tells electrical when they’ll be done. Electrical tells plumbing. Plumbing tells HVAC. This coordination prevents waiting and keeps the work flowing.
Benefits show up immediately. You order less material upfront, so cash flow improves. Jobsite storage needs drop because materials don’t pile up. Crews stay productive because they’re not waiting for the next phase.
Start small. Pick one project and implement pull planning for one trade. Track how much waiting time drops. Use that data to expand to other trades and projects.
Step 3: Adopt the Last Planner System for Workflow Control
The Last Planner System is a structured approach to planning that puts decision-making closer to the work (Last Planner System®). Instead of the project manager dictating schedules from the office, the crews who do the work plan the week ahead.
Here’s how it works:
-
Master Schedule, The project manager creates the overall timeline and major milestones.
-
Phase Planning, Crews identify what needs to happen in each phase and what constraints exist (materials, inspections, weather, other trades).
-
Look-Ahead Planning, Two to four weeks out, the team reviews upcoming work and removes obstacles. Is the inspector scheduled? Are materials ordered? Is the previous trade finishing on time?
-
Weekly Planning, At the start of each week, the crew that will do the work plans that specific week. They commit to what they can realistically finish. They identify what could stop them.
-
Plan Completion Tracking, Track whether the crew completed what they committed to. If they didn’t, ask why. Fix the obstacle.
The Last Planner System reduces uncertainty and improves schedule reliability. Crews commit to realistic targets instead of optimistic ones. When obstacles get in the way, you find out fast and adjust.
Step 4: Standardize Work and Use Visual Management
Standardized work means every crew does the same task the same way. This cuts confusion, reduces errors, and makes training faster.
Create simple written standards for your most common tasks. How should materials be staged? What sequence should the crew follow? What quality checks happen at each step? Write it down. Use photos if it helps.
Visual management means information is visible on the jobsite, not locked in spreadsheets. A whiteboard showing today’s tasks. Color-coded material bins. Photos of the standard work process taped to the wall. A simple chart showing schedule progress.
Crews work faster when they know what’s expected and can see progress. Visual management also makes it easy to spot problems. If materials are in the wrong place or a task is falling behind, anyone on the crew can see it and flag it.
Common Implementation Mistakes and How to Avoid Them
Most firms that try lean construction techniques fail because they skip steps or try to do too much at once.
Mistake 1: Starting everywhere at once. Firms implement pull planning, the Last Planner System, and visual management on five projects simultaneously.
Fix: Pick one project. Implement one technique well. Get the crew trained. Track results. Then expand.
Mistake 2: Not getting crew buy-in. The office decides to go lean without asking the crews what obstacles they face.
Fix: Start with the crew. Ask them what wastes they see. Let them help design the solution.
Fix: Make it standard practice. Build lean principles into how you bid, how you plan, and how you manage every project.
Mistake 4: Not measuring results. You implement changes but don’t track whether they actually improved anything.
Fix: Measure waste reduction, schedule performance, and cost before and after. Show the crew the impact of their work.
Mistake 5: Ignoring the office side. Lean is about the jobsite, so crews think the office doesn’t need to change.
Fix: Lean applies to the whole operation. Office staff need to support the process.
Measuring Waste Reduction: Key Performance Indicators
Track what matters. Vague improvement doesn’t count. Measure specific metrics before and after you implement lean construction techniques.
Schedule Performance:
- Plan Completion Rate (PCR): What percentage of planned work did you actually finish each week? Aim for 85%+.
- Schedule Variance: Are you finishing on time or slipping? Track days ahead or behind.
- Cycle Time: How long does one phase actually take? Compare to the plan.
Cost Performance:
- Material Waste: What percentage of ordered materials actually get used? Track waste by category (damaged, unused, rework).
- Labor Productivity: Square feet completed per labor hour. Compare before and after.
- Rework Cost: What percentage of labor goes to fixing mistakes instead of new work?
Quality and Safety:
- Defect Rate: Punch list items per phase. Fewer defects means less rework.
- Inspection Pass Rate: What percentage of inspections pass on the first attempt?
- Safety Incidents: Safer jobsites are more organized and less chaotic.
Start with three metrics that matter most to your business. Track them on every project. Share results with the crew. When they see that lean construction techniques actually reduce waste and improve outcomes, they’ll push to do it better next time.
Lean construction techniques require discipline, but the payoff is real. Teams that stick with it see faster delivery, lower costs, and fewer defects. The hardest part isn’t understanding the concepts, it’s execution. You need people focused on removing obstacles and supporting the crews, not buried in administrative work. That’s where having the right support matters. At Hard Hat Helpers, we help home service firms free up their office team to focus on what actually moves projects forward. When your estimators, dispatchers, and office managers aren’t drowning in routine tasks, they can focus on planning, communication, and problem-solving. That’s when lean construction techniques deliver their real value. Book a consultation to see how we can help your firm implement lean practices without the administrative overhead.
Frequently Asked Questions
How can lean construction techniques reduce waste on a live project?
Lean construction techniques reduce waste by identifying and eliminating non-value-added activities such as waiting, excess inventory, and rework. By mapping your value stream, implementing pull planning, and using the Last Planner System, you control material flow, reduce idle time, and improve schedule reliability.
What is the difference between the eight wastes of lean construction and traditional waste?
The eight wastes of lean construction include overproduction, waiting, transportation, overprocessing, excess inventory, unnecessary motion, defects, and underutilized talent. Traditional construction often focuses only on material waste. Lean construction expands this to include labor waste, process waste, and quality issues.
How does pull planning in construction prevent delays and excess inventory?
Pull planning reverses the traditional push approach by scheduling material delivery based on actual work demand, not forecasts. Teams work backward from the finish date, identifying dependencies and constraints upfront. This prevents materials sitting idle on-site, reduces storage costs, and ensures crews have what they need exactly when they need it, cutting work-in-progress and schedule delays.
What metrics should I track to measure waste reduction success?
Track plan completion rate (percentage of planned work completed as scheduled), cycle time (how long tasks take), rework percentage, material waste percentage, and labor idle time. Compare baseline metrics from your first project against subsequent projects.